DIXELL QUICK START GUIDE

Frigbot® was made to work with Dixell®. The installation and configuration of your new Frigbot are really easy. If you're a licenced tradesperson you can also install the additional current sensor that allows you to read the power usage and set alerts for when something is going wrong, more about this later.
This is what you will need:
- Smartphone
- Frigbot Device
- Your Equipment which has a Dixel controller fitted
- (optional) A few connectors and some mains power cable
** Important: iPhone must use Safari browser and Android must use Chrome browser
Optional Attach 3DBi Antenna
If the Frigbot is located where there is weak cellular connectivity, you can purchase the extended remote antenna (3db gain) which is sold separately.
Optional Current Sensor
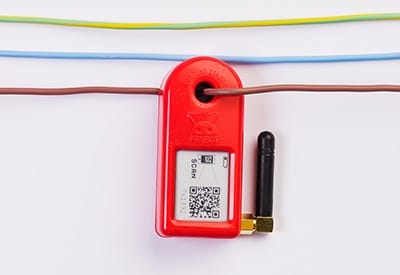
Pass the compressor power cable (or the main power supply cable) through the Frigbot current sensor this is for qualified tradespersons ONLY

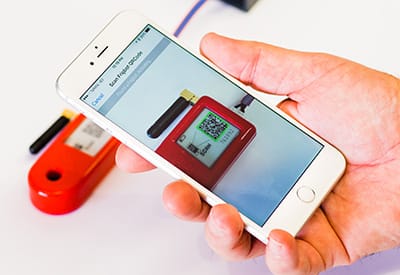
Scan QRCode
- Login to the Frigbot website on your smartphone https://frigbot.com/login
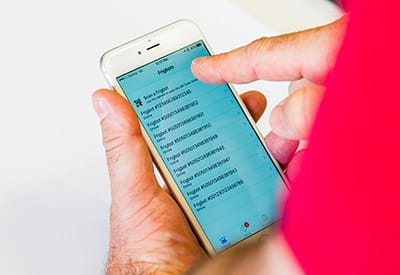
- Open the 'Frigbots' tab
- Select 'Scan Frigbot'
** Important: iPhone must use Safari Browser and Android must use Chrome Browser

Configure
Register and Configure your new Frigbot
- Choose a connection PLAN
- Authorise PAYMENT
- CONTACT NAME who owns the equipment?
- EQUIPMENT NAME what is the Frigbot plugged into?
- ALERTS and REPORTS (optional) can be set up after a full sync

Relax
It will now take about 20 minutes for your Frigbot to collect enough Dixell Data to enable a full sync with the Frigbot cloud application.